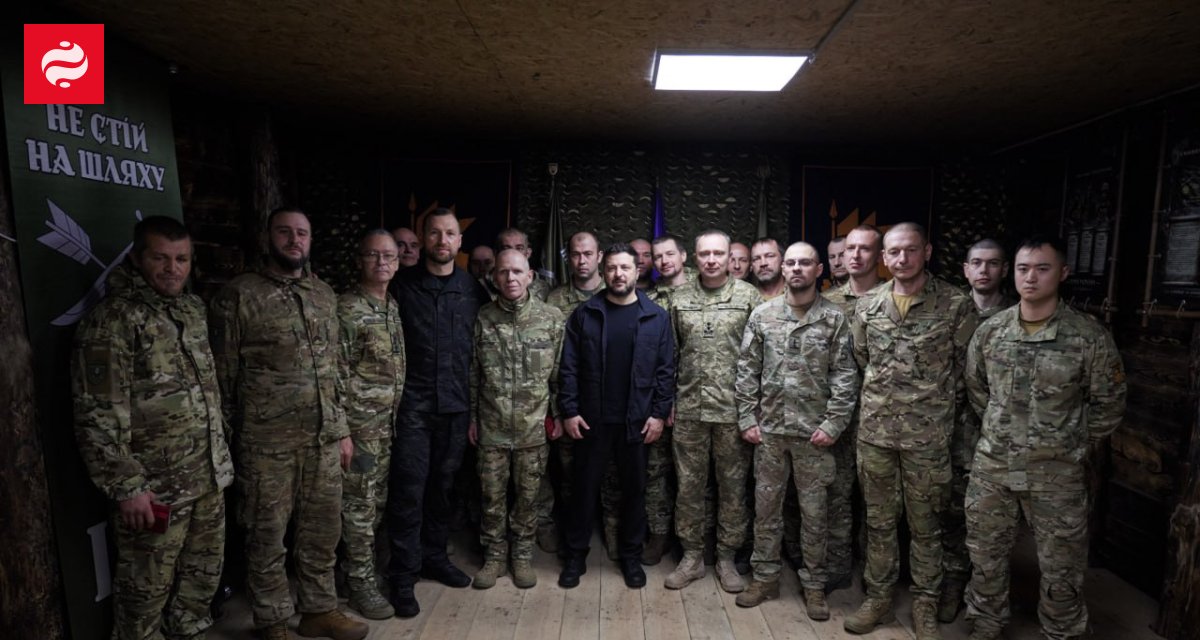
В канун Дня защитников и защитниц Украины президент наградил военных, воюющих на Лиманском направлении
Редактор новостей LIGA.net

Президент Владимир Зеленский посетил фронт и наградил военнослужащих, участвовавших в операции «Вивальди». Об этом сообщил Офис президента и опубликовал соответствующее видео.
Читайте также
Зеленский вместе с главнокомандующим Вооруженными Силами Украины Михаилом Драпатым и министром обороны Евгением Хмарой посетили пункт управления 66-й отдельной механизированной бригады имени князя Мстислава Храброго.
Зеленский встретился с военными, выполняющими задачи на Лиманском направлении, и отметил их государственными наградами. Также он пообщался с командиром бригады о задачах, выполняемых подразделением, и потребностях бригады.
Зеленский отметил, что 66-я ОМБр в рамках операции «Вивальди» вместе с другими подразделениями в составе Третьего армейского корпуса уже вернули под украинский контроль более 125 квадратных километров территории Украины.
Впоследствии ОП сообщил, что на Лиманском направлении Зеленский провел совещание с командирами корпусов, бригад и батальонов.
Были доклады о решениях об оборонных закупках, прежде всего пикапов, на уровне бригад. Также говорили об усилении Сил беспилотных систем, увеличении финансирования на дроны, упрощении закупок, расширении штата и пополнении и подготовке личного состава.
- 15 сентября Билецкий сообщил о начале наступательной операции «Вивальди» в Донецкой области.
- В ее рамках ВСУ уже установили полный контроль над Новоселовкой, Александровкой и Яровой, взяли под контроль окрестности поселка Коровий Яр, а также деоккупировали село Среднее.
- 17 сентября Билецкий объяснил, что цель операции – это выйти на выгодные рубежи обороны.
- 20 сентября стало известно, что Третий армейский корпус освободил села Шандриголово, Дерилово и установил полный контроль над поселком Дробышево.
Читайте также
Это автоматический перевод оригинального текста на украинском языке. Возможны неточности