Introduction
Images make up the vast majority of a webpage’s total download weight. When a visitor lands on your site, their mobile browser must download every single graphic, background pattern, and icon before displaying the page smoothly. If your images are uncompressed, your loading speeds slow down instantly, hurting your user engagement metrics.
Many site owners install automated compression plugins without understanding what happens behind the scenes. In this comprehensive optimization tutorial, we will explore image compression metadata, analyze how it impacts server storage, and detail how to balance quality with raw performance.
Lossy vs. Lossless Image Compression Strategies
When you optimize a media file, you must choose between two distinct digital processing types. Both methods reduce your storage footprints, but they process file data using entirely different approaches.
Understanding Lossy Compression
Lossy optimization removes redundant pixel fragments from your graphic files permanently. It strips out subtle color shifts and gradient layers that the human eye cannot easily distinguish on regular mobile screens.
- The Advantage: This technique cuts down your raw image storage footprint by up to 80%.
- The Disadvantage: If you compress a file too aggressively, your layout will display pixelation and blurred edges.
Understanding Lossless Compression
Lossless optimization strips out hidden metadata layers rather than changing the visual pixel layout. It removes background information embedded by digital cameras, including GPS coordinates, capture dates, and lens profiles.
- The Advantage: Your images maintain flawless visual quality without any pixel degradation.
- The Disadvantage: The storage reduction is modest, typically saving only 10% to 20% of your total file weight.
ALSO READ: How to Read Core Web Vitals Reports to Speed Up WordPress
Step-by-Step Guide to Auditing Image Metadata
Step 1: Analyze an Image with Online Exif Viewers
Before uploading a custom graphic to WordPress, check its hidden file contents using a free online EXIF viewer utility (like Jimpl or ExifInfo).
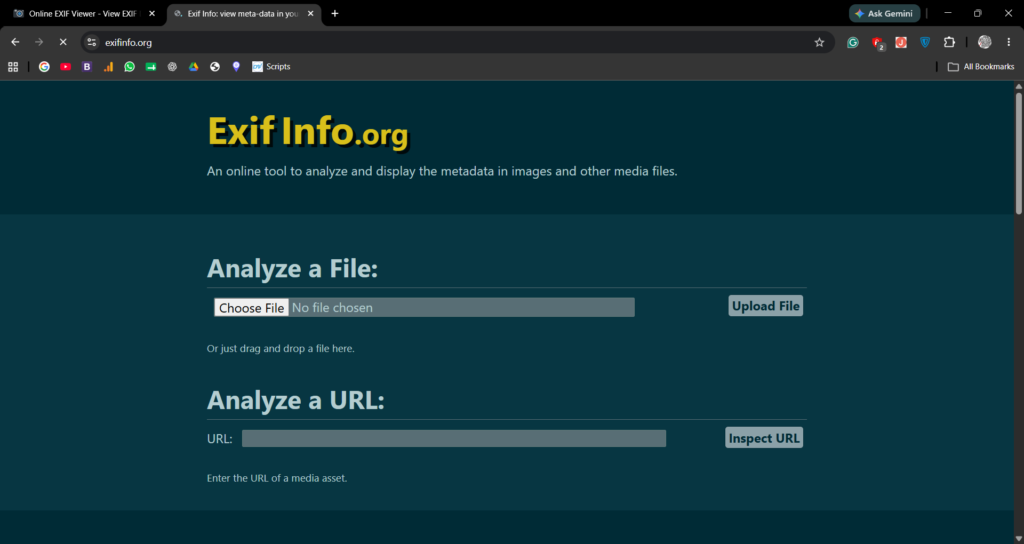
- Drag and drop your raw desktop image file into the tool’s upload window.
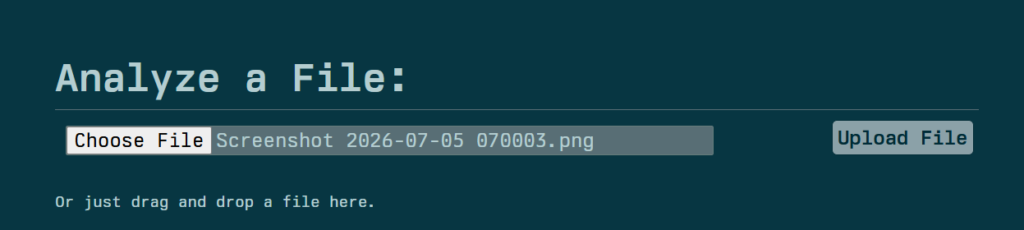
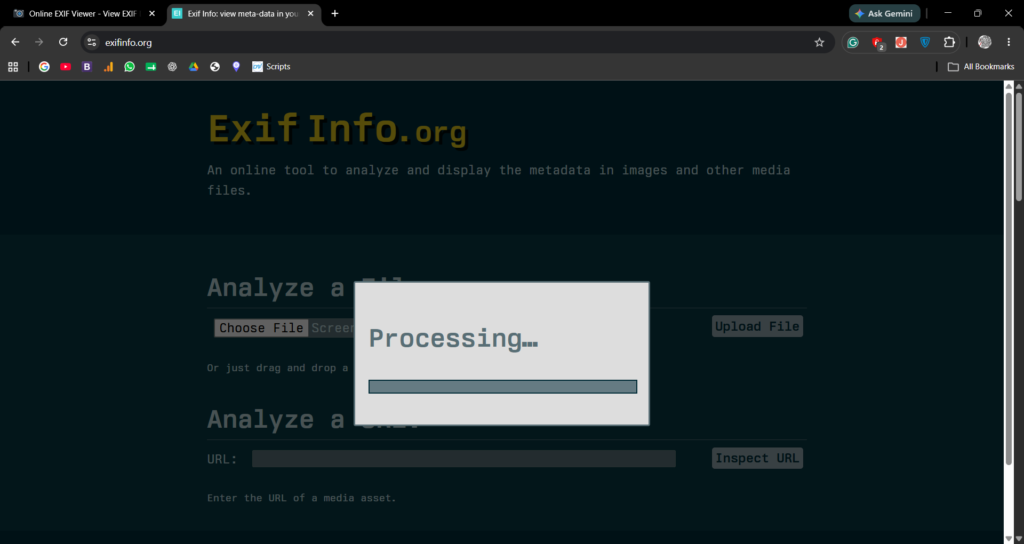
- Review the data breakdown panel. You will see an expansive list of hidden data blocks, including camera settings, software version marks, and color space profiles.
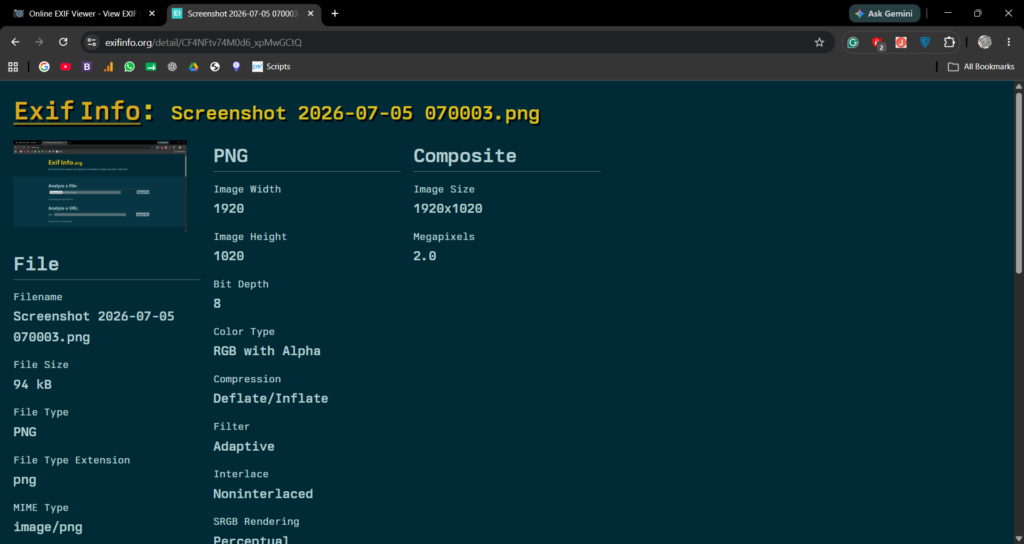
- Note the total file size before processing to track your optimization gains.
Step 2: Convert Legacy Formats to WebP or AVIF
Traditional image formats like JPEG and PNG are incredibly heavy. Modern web ecosystems utilize WebP or AVIF formats instead.
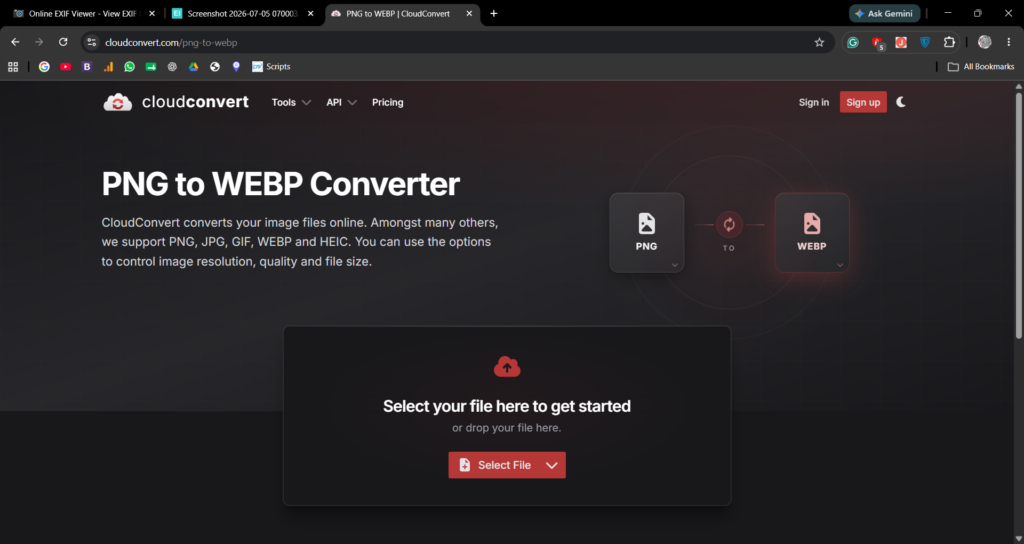
These file formats are built specifically for web delivery, offering advanced structural compression algorithms that beat legacy formats by 30% or more while maintaining clean detail rendering.
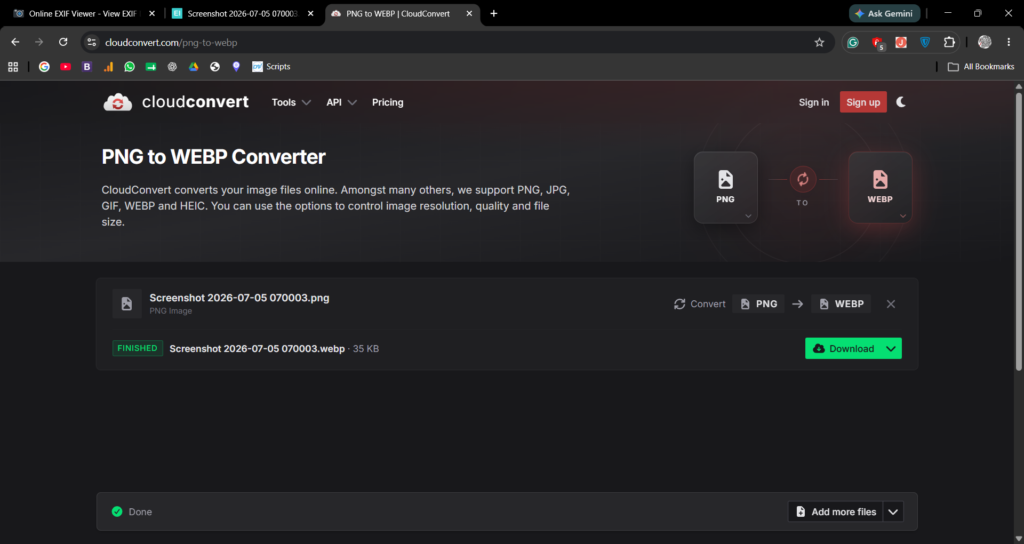
The file is compressed from 94k to 35k in size. It cuts 50% in size.
Step 3: Strip Metadata Automatically in WordPress
To handle this file preparation work automatically, install a lightweight optimization plugin like EWWW Image Optimizer, Imagify, or ShortPixel.
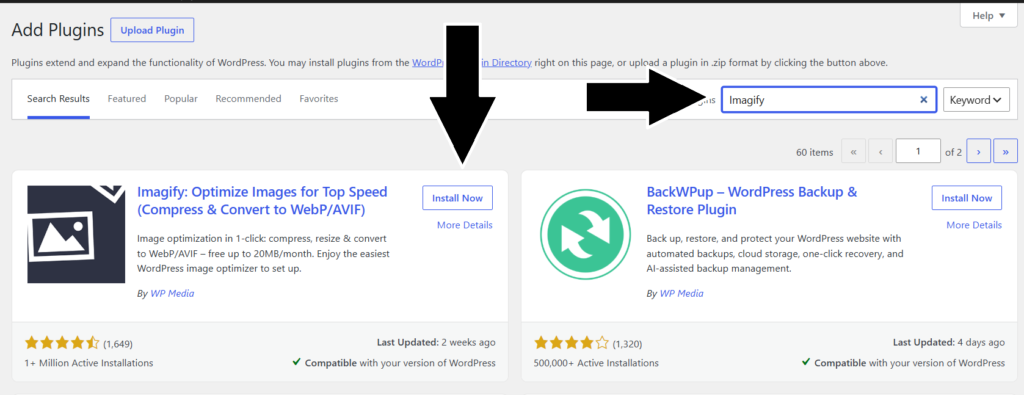
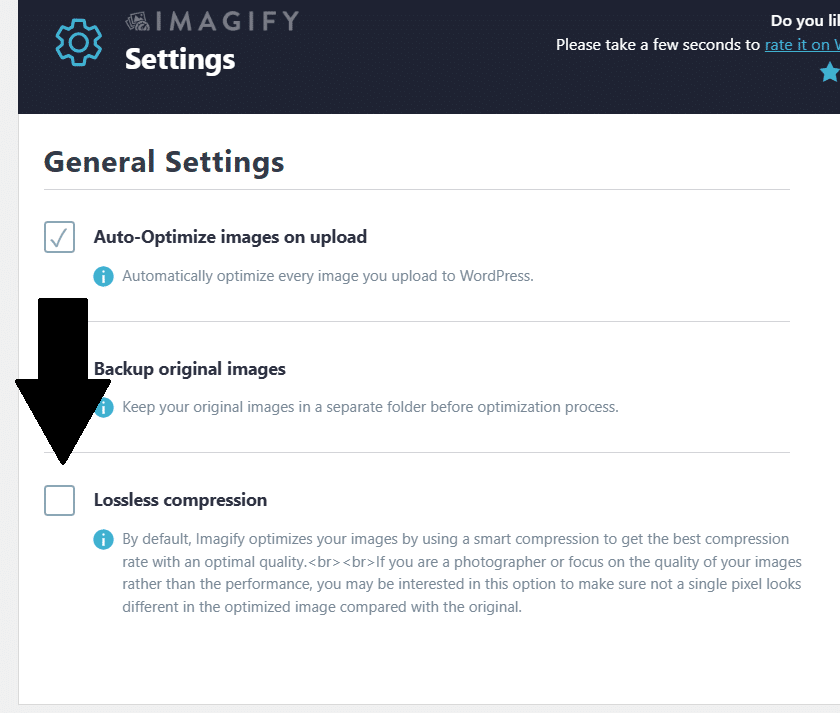
- Navigate to your chosen optimization settings panel inside WordPress.
- Ensure the option to “Keep EXIF Data” is completely unchecked. Leaving this feature unchecked forces the server to wipe out tracking fields during your media uploads, instantly saving data bandwidth.
Conclusion
Managing your media files goes way beyond simple resizing routines. By understanding the functional trade-offs between lossy and lossless algorithms and using utilities to strip out hidden camera metadata, you keep your site lean and nimble. Audit your media files consistently to make sure heavy data blocks don’t slow down your website performance.
THANKS FOR READING:)
By M.AHMAD
Pingback: How to Configure Browser Caching Utilities to Lower Server Response Times – WWNTOOLS